The DIY & Crafts Blog
Repurposing Old Buttons into Unique Accessories
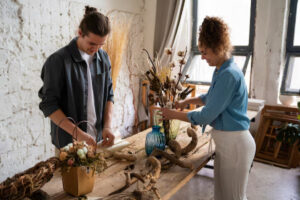
If you have a spare button collection, why not turn them into stylish, handmade accessories? Button upcycling projects are a fantastic way to breathe new life into forgotten items while embracing sustainability. From DIY fashion crafts like earrings and necklaces to statement rings and hairpins, there are countless ways to transform buttons into trendy and creative jewellery.
Not only do these projects promote eco-conscious crafting, but they also allow you to add a unique, personalised touch to your accessories. DIY fashion crafts make for thoughtful gifts, cost-effective wardrobe updates, and even potential small business ventures.
In this guide, we’ll explore a variety of button upcycling projects that will inspire you to craft your creative button jewellery with minimal effort and materials.
Why Upcycle Buttons into Accessories?
1. Sustainable & Eco-Friendly
- Reduces waste by repurposing old buttons rather than discarding them.
- Encourages sustainable fashion choices by minimising the demand for new materials.
- Supports the concept of zero-waste crafting.
- It is an excellent way to rescue vintage or sentimental buttons.
2. Cost-Effective & Budget-Friendly
- Uses readily available materials from old clothing, sewing kits, or thrift store finds.
- Eliminates the need to purchase expensive jewellery components.
- Perfect for DIY enthusiasts looking for low-cost projects.
- It is a great way to create unique gifts without breaking the bank.
3. Custom & One-of-a-Kind Designs
- Every button-based accessory is unique, ensuring a personal touch.
- There is a wide variety of colours, shapes, and sizes to mix and match.
- Adds a vintage, quirky, or elegant style depending on the buttons.
- It is a great way to showcase creativity and artistic expression.
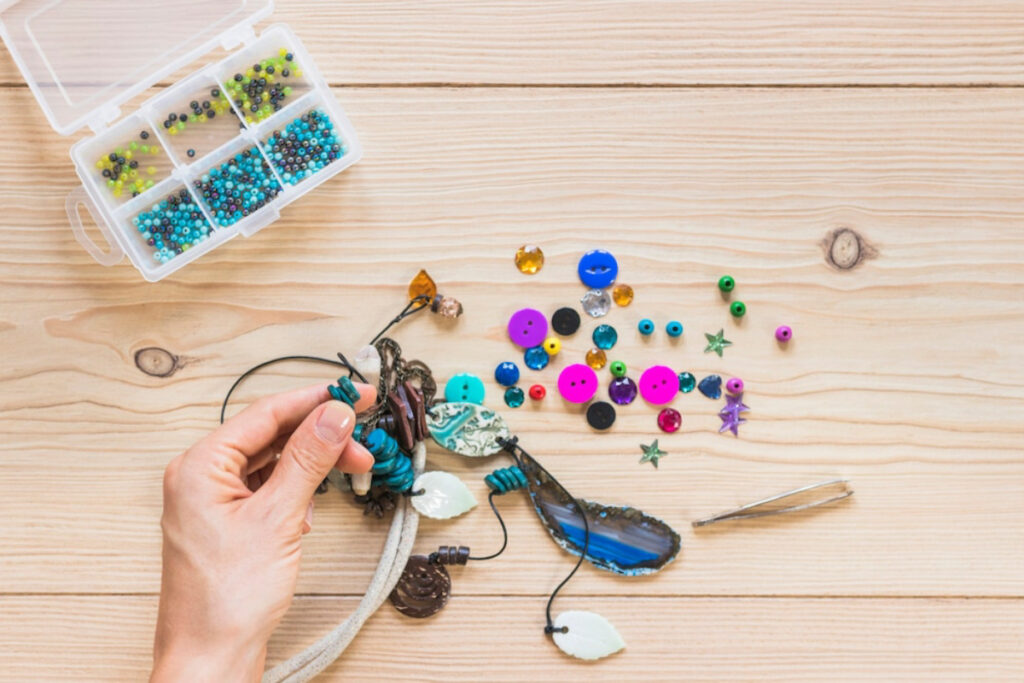
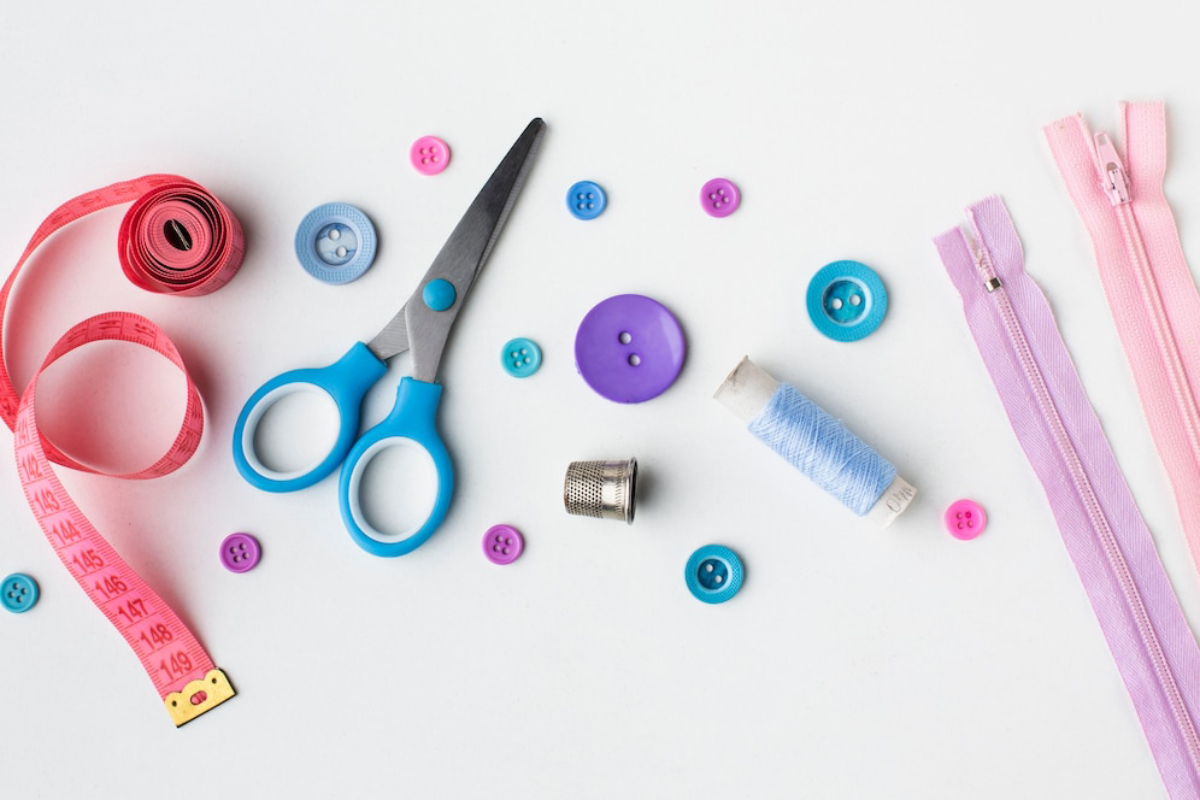
Best Buttons & Materials for DIY Accessories
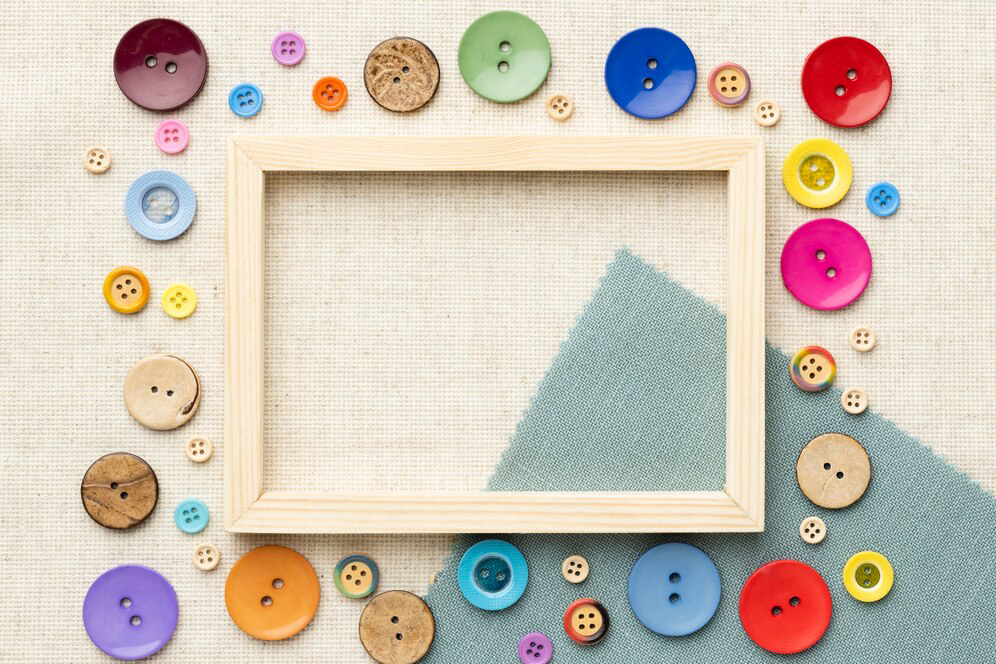
1. Vintage & Decorative Buttons
- Ideal for statement jewellery pieces.
- Often have intricate patterns, engravings, or jewel-like embellishments.
- It can be sourced from old coats, dresses, or craft stores.
2. Plastic & Colourful Buttons
- Great for fun, playful accessories like charm bracelets and earrings.
- Easily stackable for layered designs.
- Available in multiple shapes and sizes.
3. Metal & Wooden Buttons
- Provide a rustic or boho-chic aesthetic.
- Durable and lightweight, perfect for long-lasting accessories.
- It can be painted or engraved for additional customisation.
4. Fabric-Covered Buttons
- Offer a soft, elegant look.
- Work well for brooches and vintage-style jewellery.
- It can be customised with different fabrics to match outfits.
DIY Button Jewelry: Step-by-Step Accessory Ideas
1. Button Earrings
Materials Needed:
- Matching buttons (flat or shank-style)
- Earring posts & glue (for studs)
- Jump rings & hooks (for dangling earrings)
- Pliers
How to Make It:
- Choose two matching buttons as the focal pieces.
- For stud earrings, glue a flat earring post onto the back of each button.
- For dangly earrings, attach buttons using jump rings to hooks.
- Let them dry completely before wearing them.
- Experiment with stacking buttons for layered designs.
2. Button Necklace
Materials Needed:
- Assorted buttons
- Thread or thin wire
- Clasp or ribbon closure
- Needle (if using thread)
How to Make It:
- Arrange buttons in a pattern or random order for a unique design.
- Thread them onto a string or wire, ensuring they are evenly spaced.
- Secure each button in place with knots or wire loops.
- Attach a clasp or tie a ribbon for closure.
- Layer with multiple strands for a more intricate look.
3. Button Rings
Materials Needed:
- Small or statement buttons
- Adjustable ring bases
- Strong adhesive
How to Make It:
- Select a button that fits comfortably on a ring base.
- Apply a small amount of adhesive to the ring base.
- Press the button on the base and let it dry completely.
- Optional: Stack smaller buttons for added texture.
- Wear it as a vintage, boho, or minimalist statement piece.
4. Button Hairpins & Clips
Materials Needed:
- Small buttons (flat or decorative)
- Hairpins, bobby pins, or barrettes
- Hot glue gun or jewellery adhesive
How to Make It:
- Select buttons that complement your style or outfit.
- Apply a small amount of glue to the back of the button.
- Press it firmly onto the hairpin or clip and allow it to dry.
- Optional: Use multiple buttons for a clustered effect.
- Wear it as a chic and personalised hair accessory.
5. Button Bracelets
Materials Needed:
- Elastic thread or metal chain
- Assorted buttons
- Needle (if using thread)
How to Make It:
- Measure and cut the thread or chain to fit your wrist.
- Thread buttons onto the elastic or attach them to the chain with jump rings.
- Ensure buttons are evenly spaced for a balanced design.
- Tie or clasp the bracelet securely.
- Wear it as a fun and playful fashion statement.
Creative Upcycling Tips for Button Accessories
- Layer for Depth: Stack different-sized buttons for a 3D effect.
- Mix Materials: Incorporate beads, fabric, or charms for a unique twist.
- Play with Colour: Choose contrasting or complementary hues.
- Experiment with Shapes: Use heart, star, or floral-shaped buttons.
- Repurpose Old Clothing: Remove buttons from shirts or coats for a sentimental touch.
- Add Embellishments: Use glitter, paint, or resin for added flair.
- Personalise Gifts: Make themed jewellery for birthdays or special occasions.
Conclusion: Give New Life to Old Buttons
Button upcycling projects are a fantastic way to create stylish, DIY fashion crafts while promoting sustainability. Whether making earrings, necklaces, rings, or hair accessories, these creative button jewellery ideas allow you to repurpose forgotten materials into trendy, one-of-a-kind pieces.
By exploring the endless possibilities of button-upcycling projects, you can reduce waste and enjoy a rewarding, hands-on crafting experience. So, gather those spare buttons and start your next DIY fashion craft today! Do you have a favourite button accessory idea? Share your thoughts in the comments below!


YOU MAY LIKE