The DIY & Crafts Blog

How to Turn Broken Jewelry into New Statement Pieces
Are broken necklaces, solo earrings or out-of-date bracelets flying around? So, instead of tossing them, why not turn them into beautiful, unique accessories? Recycling broken jewellery is a fun way to take old jewellery and make something new and original while reducing waste. You can turn broken and outdated accessories into creative, wearable art with some imagination and basic crafting skills.
This guide will discuss the best methods for DIY jewellery redesign, whether simple repairs or complete transformations. Whether you want to create a funky necklace, stunning earrings, or a chic bracelet, we can help you create masterpieces from your broken jewellery.
Why Repurpose Broken Jewelry?
1. Sustainable & Eco-Friendly
- Reduces waste by giving broken accessories a second life.
- Encourages sustainable fashion and minimises landfill waste.
- Supports a zero-waste lifestyle with creative upcycling solutions.
2. Cost-Effective
- Saves money by using what you already own instead of buying new accessories.
- It allows you to create designer-inspired pieces for a fraction of the cost.
- It provides an affordable way to refresh your jewellery collection.
3. Unique & Customizable
- Ensures that no two pieces are exactly alike.
- It allows you to mix and match elements for a personalised look.
- It will enable you to repurpose sentimental jewellery pieces into something new and meaningful.
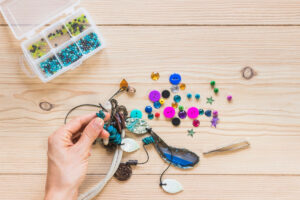
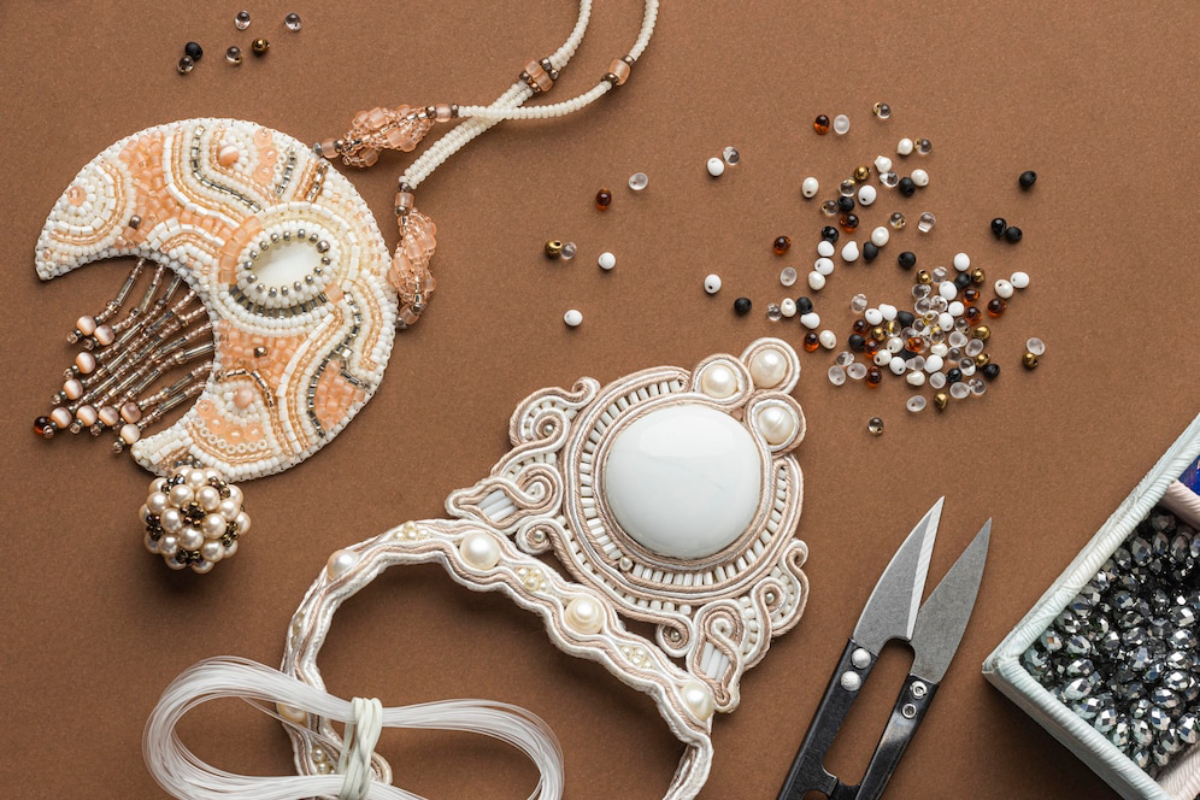
Essential Supplies for DIY Jewelry Redesign
Before you begin, gather these supplies to make the process easier:
- Jewelry pliers (round-nose, flat-nose, and wire cutters)
- Jump rings and clasps
- Earring hooks and studs
- Beads, chains, and charms
- Strong jewellery glue or resin
- Wire and thread
- Repurposed jewellery pieces (broken chains, pendants, earrings, etc.)
- Resin moulds for encasing small jewellery pieces
- Sandpaper for smoothing rough edges on metal parts
These tools and materials will help you reconstruct and enhance your accessories, making the process of repurposing broken jewellery smoother and more enjoyable.
DIY Jewelry Redesign Ideas
1. Transforming a Broken Necklace into a Statement Piece
Materials Needed:
- Broken necklace chains
- Beads and charms
- Jewelry pliers and jump rings
Instructions:
- Detangle and assess the broken necklace parts.
- Arrange the beads and charms into a new design.
- Use jump rings to attach beads, pendants, or additional chains.
- Secure the new design with clasps and durability tests.
- Enjoy your stunning new DIY jewellery redesign creation!
Bonus Tip: Layer multiple broken necklaces to create a bold, multi-strand statement piece.
2. Making Earrings from Single or Broken Pieces
Materials Needed:
- Single earrings or small broken jewellery pieces
- Earring hooks or studs
- Wire and pliers
Instructions:
- Identify broken pieces that can be repurposed as earrings.
- Attach earring hooks or studs using pliers.
- Add decorative beads, charms, or wire wrapping for extra flair.
- Ensure both earrings match the length and design.
- Your handmade earrings are ready to wear!
Bonus Tip: Mismatched earrings can also be a trendy fashion statement.
3. Creating a Charm Bracelet from Leftover Jewelry Parts
Materials Needed:
- Broken chains, pendants, and charms
- Jump rings and clasps
- Bracelet chain or wire
Instructions:
- Gather old charms, pendants, and beads from broken accessories.
- Attach charms to a bracelet chain using jump rings.
- Arrange them evenly for a balanced look.
- Secure with a sturdy clasp.
- Enjoy your fix and upcycle old accessories transformation!
Bonus Tip: Mix metals and textures for a boho-chic effect.
4. Turning a Broken Brooch into a Hair Accessory
Materials Needed:
- Broken brooch or decorative pendant
- Hair clip or headband
- Strong adhesive or wire
Instructions:
- Remove any fractured pinbacks or unnecessary metal parts.
- Attach the decorative piece to a hair clip or headband using glue or wire.
- Let the adhesive dry completely before wearing. it
- Your DIY jewellery redesign now includes fashionable hair accessories!
Bonus Tip: Use vintage brooches to add a classic touch to your upcycled hairpieces.
5. Creating Resin Pendants from Small Jewelry Fragments
Materials Needed:
- Tiny broken jewellery pieces (beads, gems, metal charms)
- Clear resin and moulds
- Mixing tools
Instructions:
- Arrange small jewellery fragments in a mould.
- Pour resin over them and let them set.
- Once hardened, drill a small hole and attach a chain.
- Your upcycled resin pendant is now ready to wear!
Bonus Tip: Add dried flowers or glitter to create unique designs.
Creative Tips for Repurposing Broken Jewelry
- Use resin to encase tiny jewellery fragments into pendants or rings.
- Turn old brooches into stylish hair clips or bag embellishments.
- Repurpose broken watch faces into unique steampunk-inspired necklaces.
- Convert a broken ring into a delicate pendant by attaching a chain.
- Glue beads onto plain hairpins for custom decorative accessories.
- Mix and match different jewellery styles to create one-of-a-kind statement pieces.
- Transform a broken belt buckle into a bold necklace pendant by attaching it to a thick chain.
- Use wire to wrap broken gemstone pieces and create a rustic, handmade aesthetic.
- Repurpose a beaded bracelet into a new headband or decorative wrist cuff.
- Turn vintage buttons from broken accessories into decorative embellishments for clothing.
- Use leftover chain links to make anklets or layered bracelets.
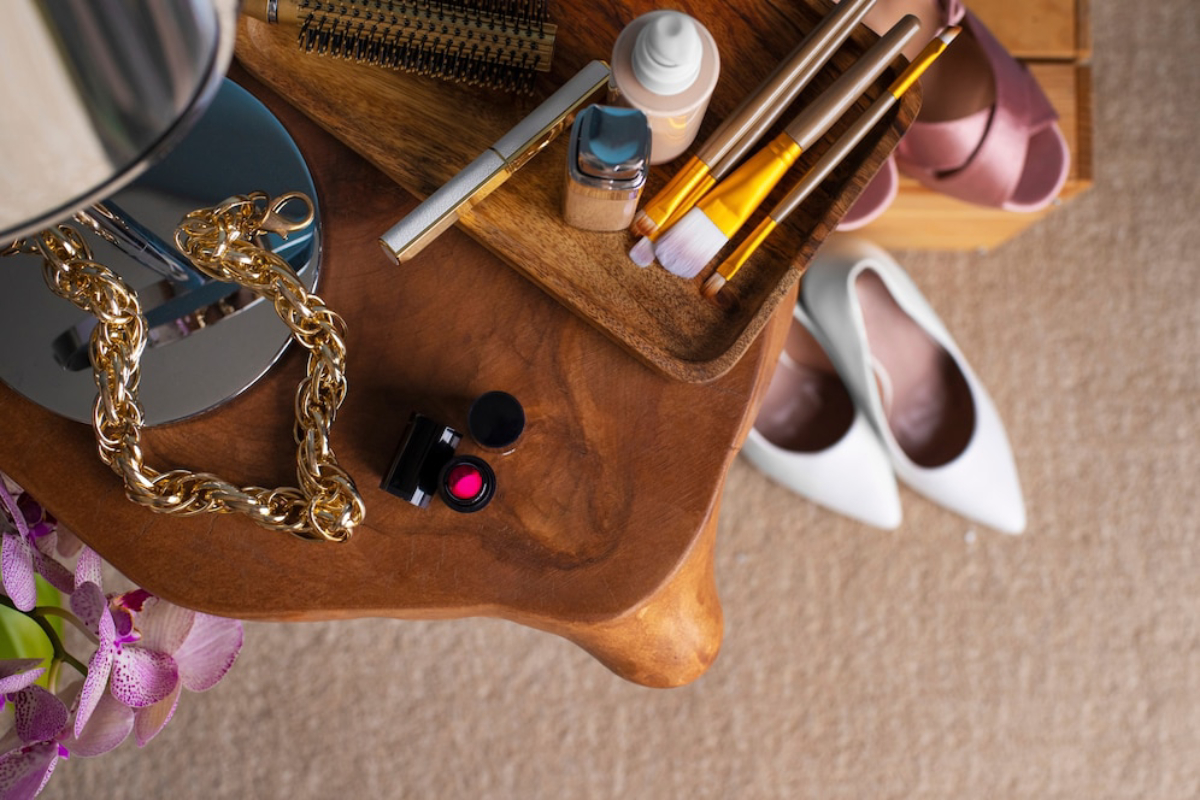
How to Maintain and Care for Your Upcycled Jewelry
After redesigning your broken pieces, proper maintenance will ensure their longevity.
- Store your jewellery correctly: Keep items in a soft pouch or box to prevent further damage.
- Avoid water exposure: If your redesigned jewellery includes glue or resin, keep it dry to prevent weakening.
- Polish metal components: Use a jewellery polishing cloth to maintain shine and remove tarnish.
- Check for loose parts: Periodically inspect your upcycled pieces to ensure clasps and jump rings remain secure.
- Handle with care: Handmade jewellery is delicate, so wear and store it carefully to prevent further breakage.
- Avoid direct sunlight: Some materials, like resin and certain gemstones, can fade with prolonged sun exposure.
Conclusion: Revive & Reinvent Your Jewelry Collection
Repurposing broken jewellery enables you to embrace DIY jewellery redesign, be kind to the planet, and save some funds! Whether repairing a broken, sentimental piece of jewellery or creating a new bold statement accessory, repurposing broken jewellery is a fun and rewarding way to get creative.
These are some articles on how to make your old accessories reach and gold technique. So free up those tangled necklaces, odd earrings, and broken bracelets and get crafting!
Which of these ideas will you try first? Tell us your thoughts in the comments below!


YOU MAY LIKE