The DIY & Crafts Blog
How to Transform Old Furniture into Trendy Home Pieces
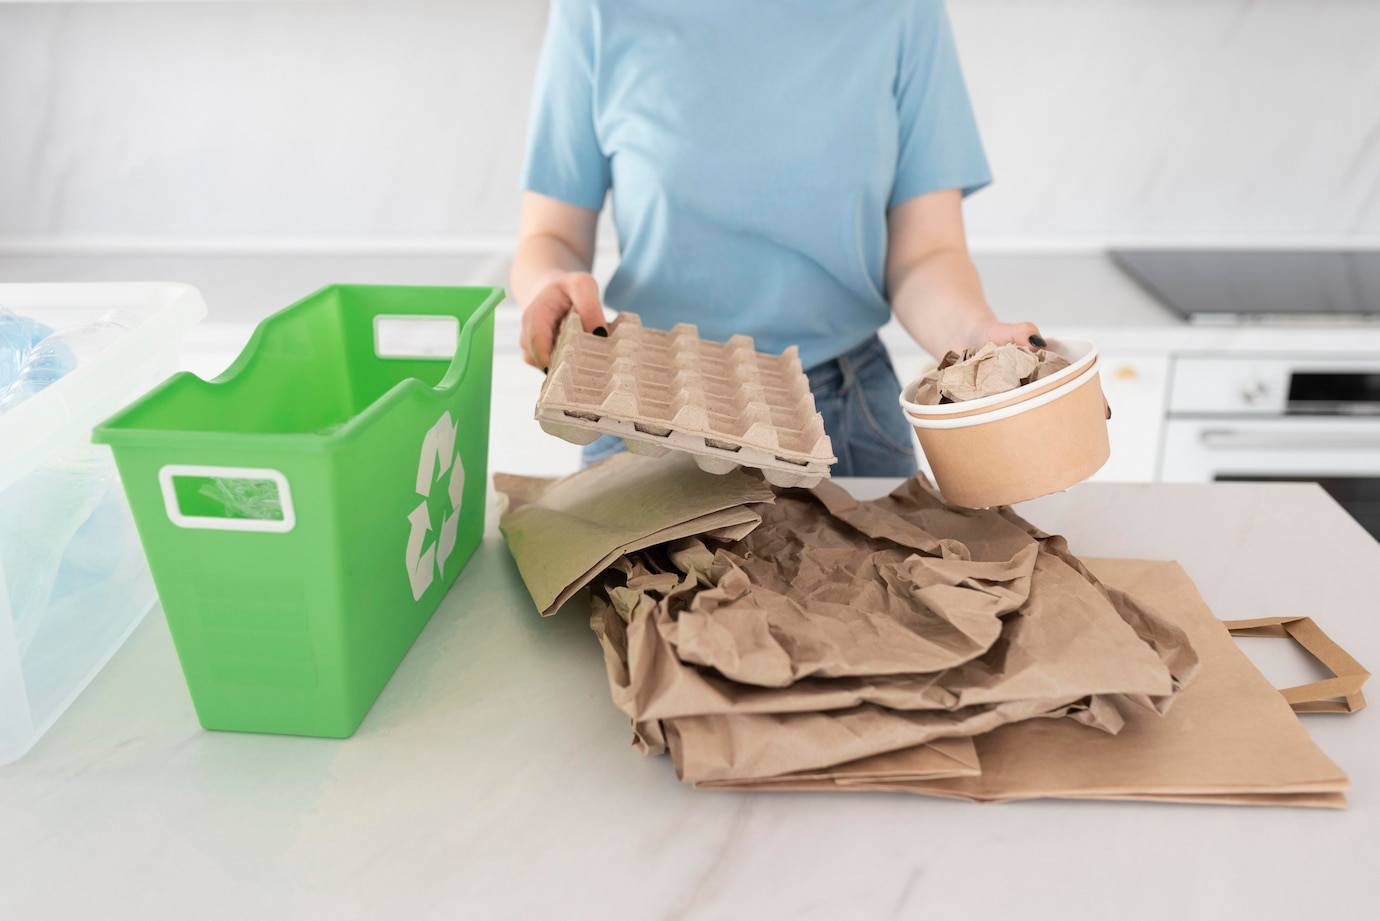
Upcycling furniture is a creative and sustainable approach to home decor. Upcycling in a world dominated by mass-produced furniture allows you to breathe new life into old pieces while reducing waste and promoting eco-friendly living.
This guide explores practical upcycling techniques, from selecting the right furniture to executing creative transformations. Whether you want to refresh a worn-out table or turn a vintage dresser into a statement piece, this guide provides actionable steps to help you achieve a stylish and unique home interior.
Why Upcycling Furniture is Worth It
Upcycling is more than a passing trend; it is a movement toward sustainability, creativity, and affordability. Here are some key benefits:
- Eco-Friendly Alternative – Reduces landfill waste and minimises the demand for new furniture production.
- Cost-Effective – Revamping old furniture is significantly cheaper than buying brand-new pieces.
- Unique and Customizable – Creates one-of-a-kind home decor pieces that reflect your style.
- Preserves Craftsmanship – Many older furniture pieces use better materials and craftsmanship than today’s mass-produced options.
- Boosts Creativity – Experimenting with paints, fabrics, and finishes allows self-expression and artistic development.
Pro Tip: When selecting furniture for upcycling, always opt for sturdy, high-quality materials like solid wood or wrought iron, as they provide better longevity and a polished final look.
Quick Guide to Upcycle Furniture
Step 1: Choosing the Right Pieces for Upcycling
Selecting the right furniture is crucial for a successful upcycling project. Consider these factors:
- Material Matters – Solid wood, metal, and high-quality upholstery best suit upcycling techniques. Avoid particleboard and laminate, as they are challenging to refinish.
- Structural Integrity – Ensure the piece is sturdy and does not require excessive repairs.
- Design Potential – Simple shapes and classic designs are more straightforward to modernise.
- Practical Functionality – Choose items that serve a purpose in your home.
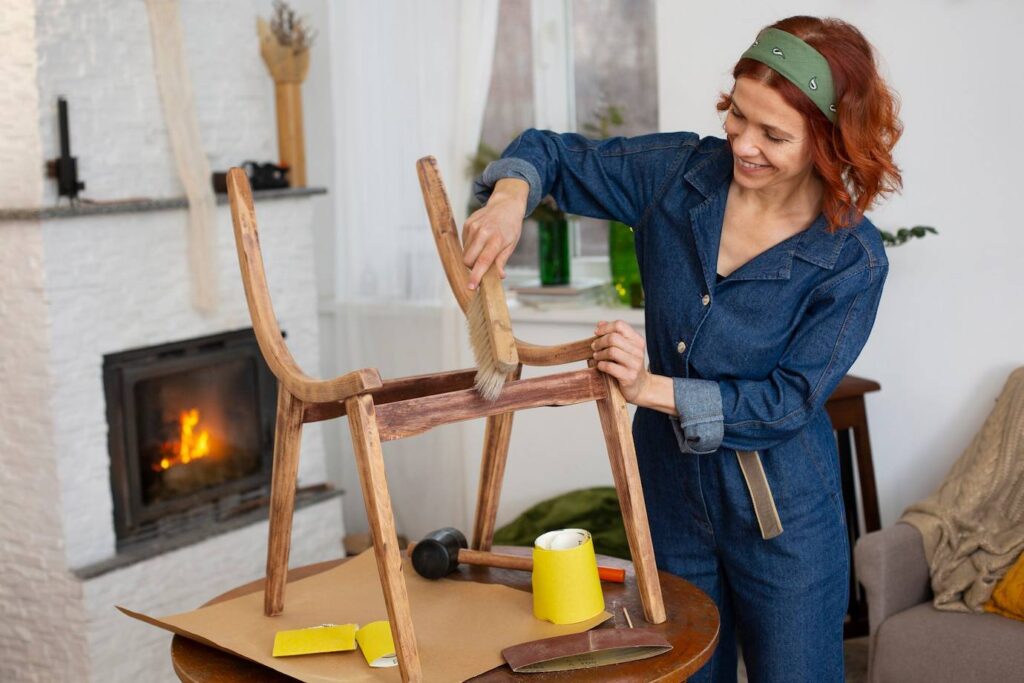
Step 2: Preparing the Furniture
Preparation is key to achieving a professional finish.
Follow these steps:
- Clean the Surface – Use a damp cloth and mild soap to remove dirt and grime.
- Sand the Surface – Clean rough edges and remove old paint or varnish for better adhesion.
- Repair Damages – Fill in cracks or holes with wood filler and tighten loose joints.
- Prime the Furniture – Apply a primer to create a smooth base for paint or finishes.
Pro Tip: Always sand between coats of paint or varnish to achieve a polished, smooth surface.
Step 3: Upcycling Techniques to Try
- Repainting for a Modern Touch
- Use neutral tones for a minimalist look or bold colours for a statement piece.
- Chalk paint provides a rustic, matte finish, while gloss paint creates a sleek appearance.
- Apply multiple thin coats for a smooth, even finish.
- Reupholstering for a Fresh Look
- Swap outdated fabrics with modern prints or classic neutrals.
- Add extra foam padding for comfort.
- Secure fabric with a staple gun for a professional finish.
- Distressing for a Vintage Appeal
- Lightly sand edges and corners to create a worn, antique effect.
- Apply dark wax or glaze for an aged look.
- Layer different paint colours and selectively sand for a multidimensional finish.
- Decoupage for a Unique Statement
- Apply patterned paper, fabric, or newspaper clippings with decoupage glue.
- Seal with a clear varnish for durability.
- Stenciling for Artistic Flair
- Use geometric patterns, floral motifs, or typography for custom designs.
- Apply painter’s tape for clean lines and even spacing.
- Metallic paints or contrasting colours add a modern touch.
- Repurposing for a New Function
- Convert an old ladder into a bookshelf.
- Transform wooden crates into modular storage units.
- Turn a vintage suitcase into a quirky coffee table.
- Use a distressed door as a stylish headboard.
Important Tip: Always test new paints, finishes, or adhesives on a small area before applying them to the entire piece.
Step 4: Styling Your Upcycled Furniture
To ensure your revamped pieces complement your home decor, follow these styling tips:
- Balance Old with New – Pair vintage furniture with modern decor to create a contemporary yet warm aesthetic.
- Layer Textures – Combine wood, metal, and fabric for depth and visual interest.
- Use a Cohesive Color Palette – Stick to a consistent colour scheme to maintain harmony.
- Incorporate Greenery – Adding plants enhances upcycled furniture’s organic, eco-friendly appeal.
- Highlight Statement Pieces – Let a bold, upcycled item be the focal point of a room rather than overcrowding with multiple DIY elements.
Common Upcycling Mistakes to Avoid
- Skipping Prep Work – Always clean, sand, and prime before applying paint or finishes.
- Choosing the Wrong Materials – Not all paints, glues, and fabrics suit every furniture type.
- Overdoing Distressing – Excessive sanding can make a piece look worn out rather than vintage.
- Ignoring Functionality – Ensure the piece remains practical for everyday use.
- Rushing the Process – Take time with each step to achieve a professional-quality result.
Secret Tip: If working with vintage or antique furniture, research its history to avoid devaluing a potentially valuable piece.
Frequently Asked Questions (FAQs)
1. Can I upcycle furniture on a budget?
Yes. Many upcycling projects require only basic supplies like paint, sandpaper, and fabric. Thrift stores and online marketplaces are great places to find affordable furniture.
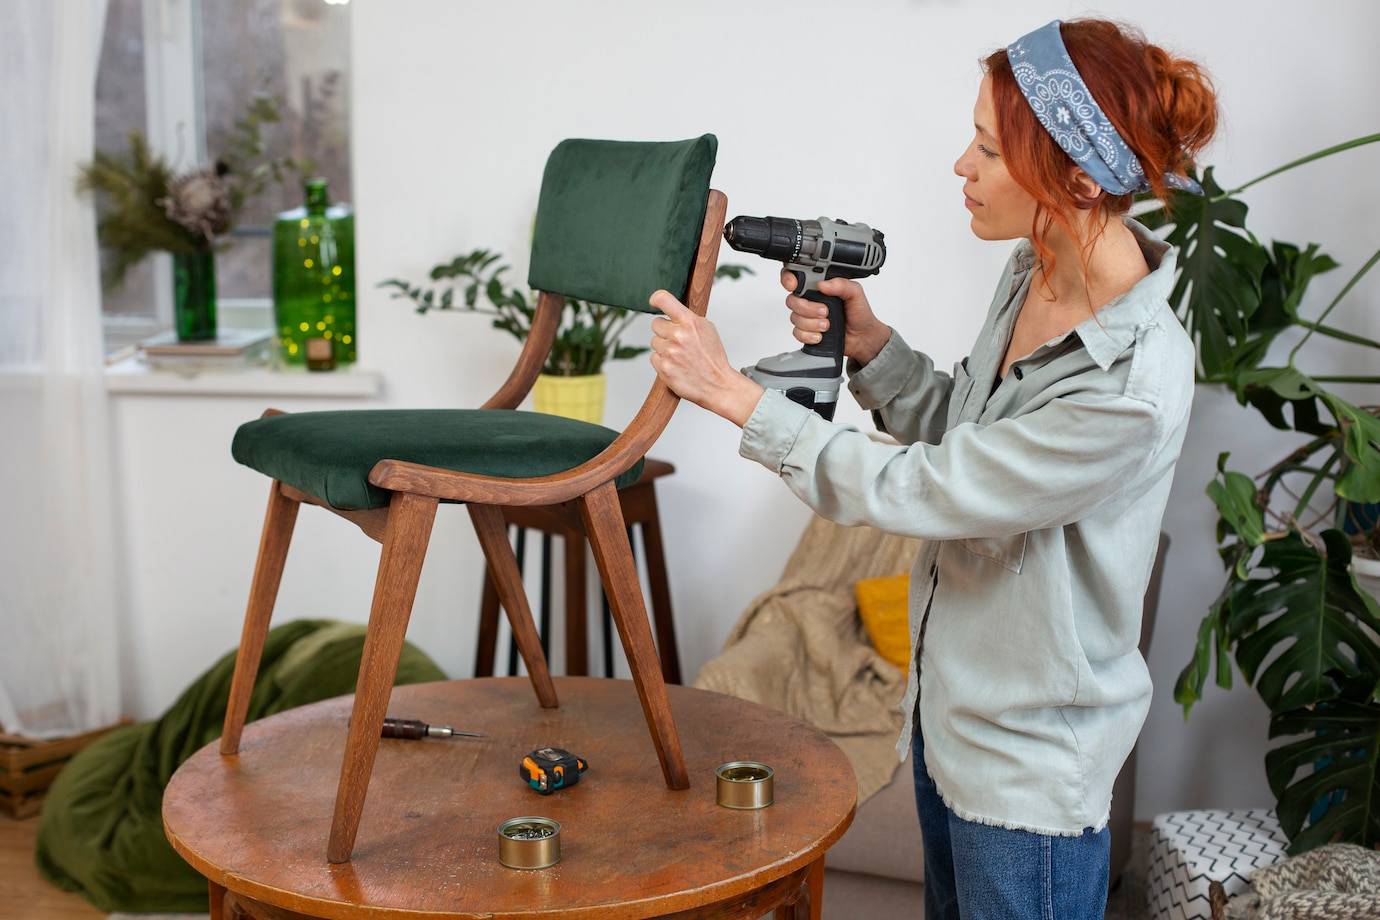
2. Do I need special tools for upcycling?
Essential tools like a sanding block, paintbrushes, a staple gun, and a screwdriver are often enough. For more advanced projects, a power drill or jigsaw may be helpful.
3. What type of paint works best for furniture upcycling?
Chalk paint, acrylic paint, and latex-based paints are popular choices. Chalk paint is ideal for a rustic look, while latex and acrylic paints provide a smooth, durable finish.
4. How can I make my upcycled furniture more durable?
Apply a clear protective topcoat, such as polyurethane or wax, to protect against wear and tear. Using quality materials and proper preparation also extends longevity.
5. Can I upcycle laminate furniture?
Yes, but it requires additional preparation. Sand the surface lightly and use a special bonding primer before painting.
Final Thoughts

Upcycling furniture is an excellent way to combine creativity, sustainability, and functionality in home decor. You can transform outdated furniture into stunning home accents by carefully selecting pieces, applying effective techniques, and styling them with intention.
Whether you are an experienced DIYer or a beginner looking to experiment, upcycling offers endless possibilities for personal expression and environmental consciousness. Start your next DIY home decor project today and bring new life to old furniture while positively impacting the planet.


YOU MAY LIKE