The DIY & Crafts Blog
Transforming Picture Frames into Decorative Wall Art
The homes we found show this world has lots of potential. Upcycled frames can bring new life to interiors. Our first post mentioned that the source materials for these frames are often “framed works.” However, the work and construction can vary widely. Why not upcycle them instead of letting old, mismatched frames collect dust? You can turn them into beautiful wall art showing creativity and eco-friendly style.
Whether you’re a pro at upcycling or just starting with DIY home decor, transforming old picture frames is a fun and cost-effective project. This guide covers everything. You’ll find tips on vintage frames, fun revamp tricks, and how to hang your finished pieces.
Let’s explore how to give frames a new life.
Why Upcycle Picture Frames?
Sustainability Meets Style
The impact of mass production on home decor is significant. Upcycling instead of buying new reduces waste and lowers your carbon footprint. Picture frames are perfect for this as they are easy to find, often cheap (or free!), and can be reinvented in countless ways.
Affordable Home Makeovers
You don’t need to break the bank to refresh your space. Thrift shops, charity stores, garage sales, and even your attic can hide forgotten frames. With some imagination, you can turn them into unique art pieces that reflect your style—at a fraction of the cost of new decor.
A Personal Touch
Upcycling lets you add meaning to your space. A frame from your childhood or one found on a memorable trip can become wall art that adds beauty and tells a story in your home.
Getting Started: Choosing and Preparing Frames
Before diving into design ideas, prepare your frames for transformation.
Where to Source Old Frames
- Charity shops and second-hand stores – Affordable and diverse.
- Garage sales and car boot sales – Great for unique or vintage finds.
- Online marketplaces – Sites like Gumtree, Freecycle, and Facebook Marketplace often have free items.
- Your own home – Old frames in storage might be waiting for a new purpose.
What to Look For
- Sturdy construction – Ensure the frame is solid, even if the finish is worn.
- Interesting details – Ornate or uniquely shaped frames add character.
- Sizes and proportions – Consider how various sizes will look on your wall.
Cleaning and Prepping
- Remove old artwork or backing.
- Wipe off the dust with a damp cloth.
- Sand down any chipped or flaking paint.
- Prime the surface if you plan to repaint or decoupage.
Creative Wall Art Ideas Using Upcycled Frames
Now for the fun—turn those dusty frames into eye-catching artwork. Here are several creative ways to transform upcycled frames into stylish DIY home decor.
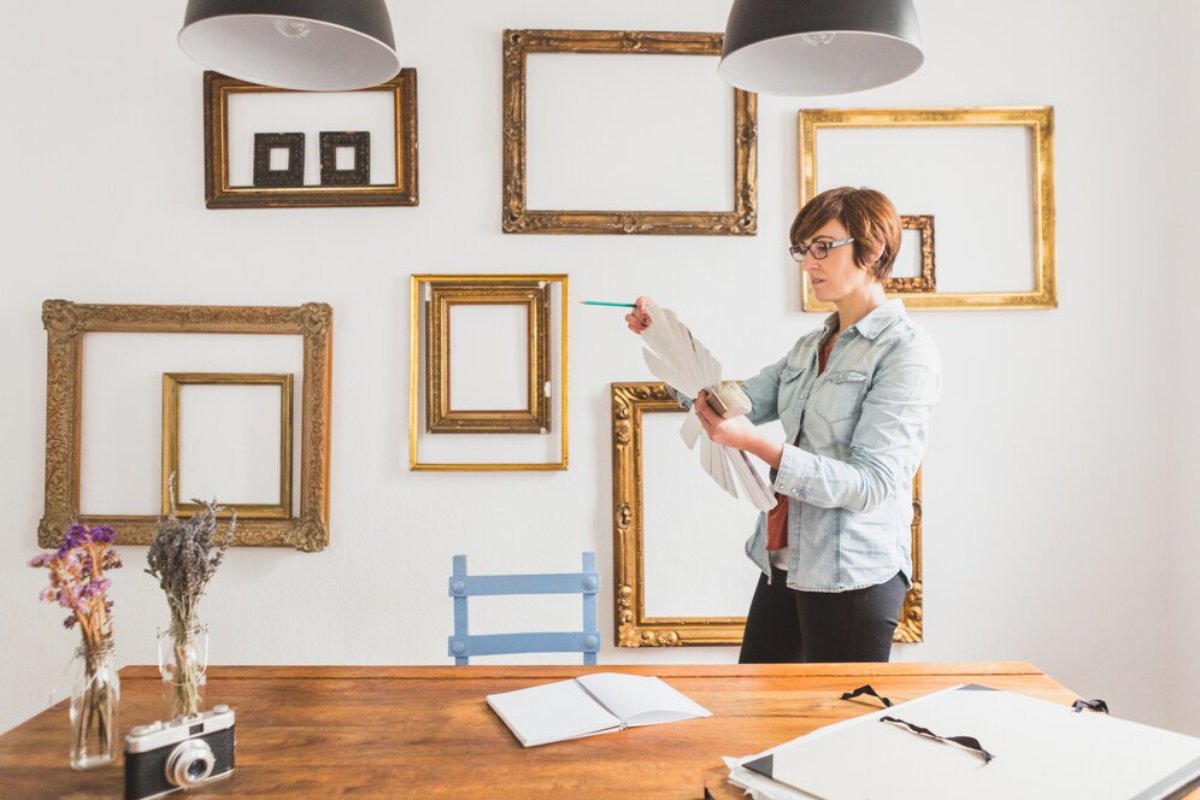
1. Empty Frame Gallery
Sometimes, less is more. A collection of empty, painted frames on a wall creates a modern, artistic look.
Tips:
- Use frames in different shapes and sizes.
- Spray-paint them in one bold colour for a cohesive look.
- Hang them close together or spaced out for different effects.
2. Fabric-Covered Art
Add colour and texture by covering the frame backing with patterned fabric.
How-To:
- Cut fabric to size.
- Stretch it over a backing board and secure it with staples or glue.
- Insert into the frame and hang. Try using:
- Vintage scarves
- Leftover upholstery fabric
- Fun printed tea towels
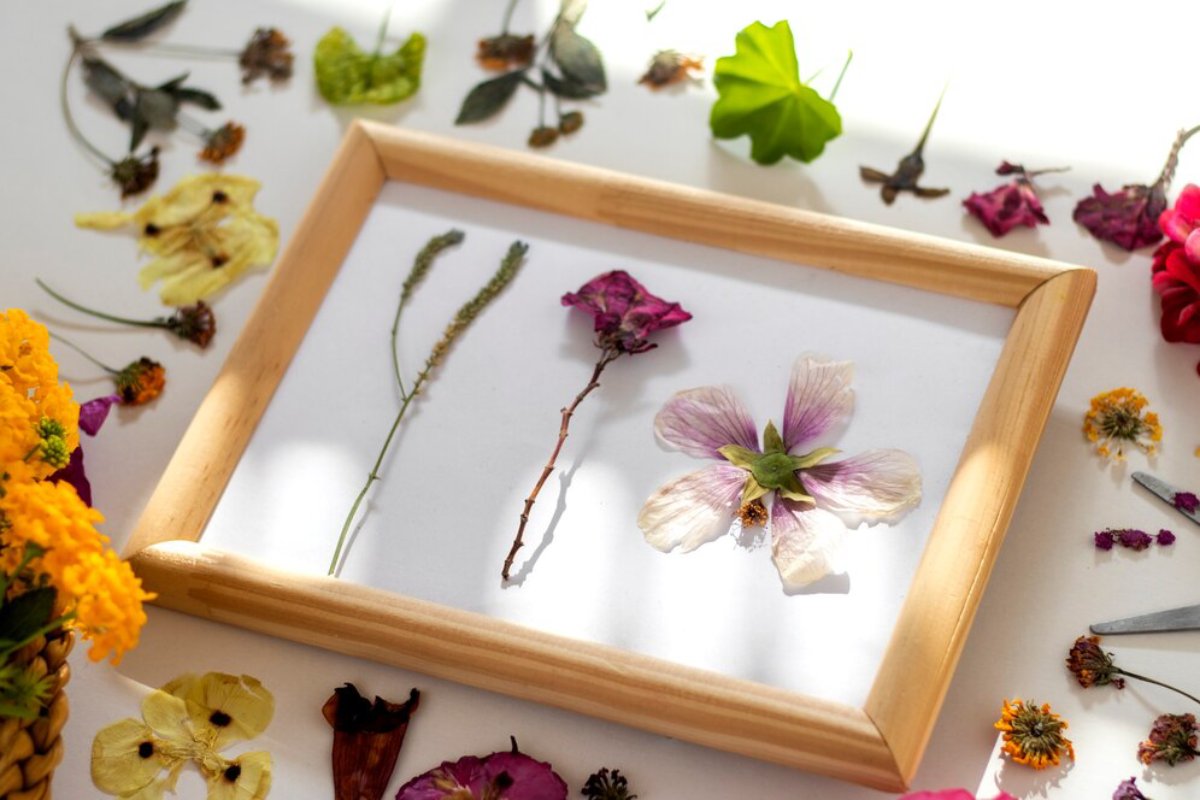
3. Framed Botanicals
Bring nature inside by framing dried flowers, leaves, or pressed herbs.
Steps:
- Press plants for a week between parchment paper and heavy books.
- Mount them on neutral paper or linen in a glass-fronted frame.
- Use labels or handwritten names for an authentic touch.
4. Cork Board Organizer
Turn a frame into a stylish corkboard for notes, keys, and jewellery.
Materials:
- Cork roll or tile
- Adhesive
- Push pins or hooksBonus Idea: Paint the cork or stencil a design before inserting it into the frame.
5. Chalkboard or Whiteboard Frame
Perfect for kitchens, hallways, or home offices.
- Paint the backing with chalkboard paint or add a whiteboard panel.
- Use a slim frame for a modern look or a decorative one for vintage charm.
- Leave quotes, weekly menus, or to-do lists.
6. Framed Mirrors
Replace the inner artwork with a custom-cut mirror to brighten up a room.
- Great for small hallways or bedrooms.
- Choose gold or wood frames for a luxurious feel.
7. Mini Gallery for Kids’ Art
Children’s artwork deserves more than the fridge door. Use small frames to create a rotating gallery wall.
Top Tip: Leave the backs removable for easy updates with new artwork.
8. Hanging Plant Display
Add greenery to your wall with a frame-based plant holder.
- Remove the glass and backing.
- Add chicken wire or rope inside the frame.
- Hang small pots or air plants from the wire grid.
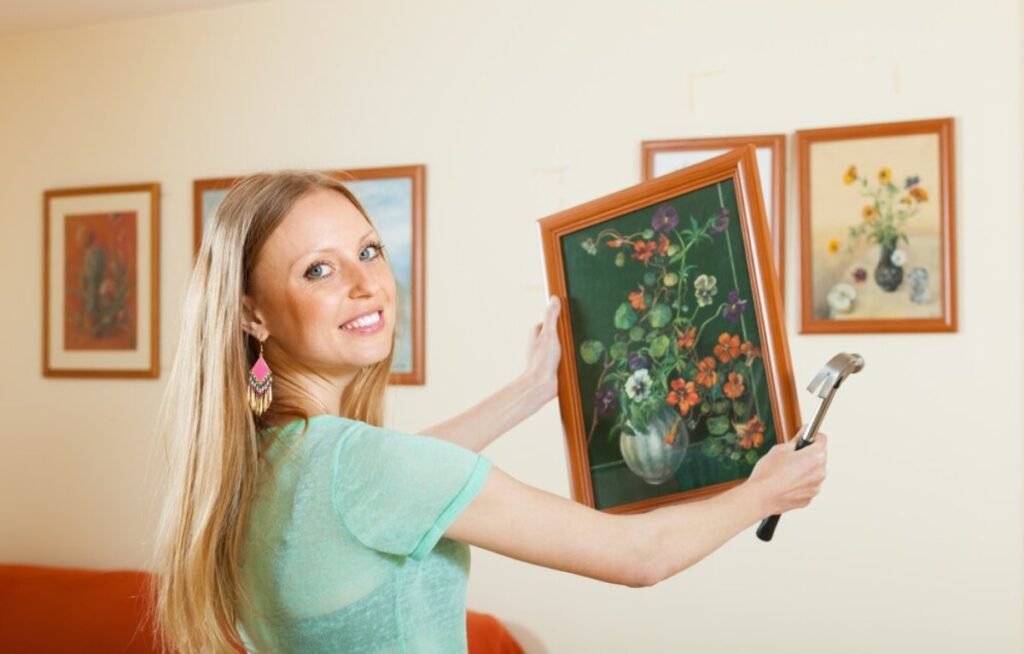
Styling Tips for Frame-Based Wall Art
Now that you’ve created your pieces, it’s time to display them effectively. Here’s how to maximise visual impact.
Plan Your Layout
- Gallery walls look best with a mix of frame styles and sizes.
- Use paper cut-outs the size of your frames and blue-tack them to the wall to test different layouts.
- Stick to odd numbers—groups of three or five tend to look more balanced.
Choose the Right Wall
- Feature walls behind sofas, beds, or hallways are ideal for frame installations.
- Ensure there’s enough light to show off texture and detail.
- Consider the background colour—darker walls make light frames stand out.
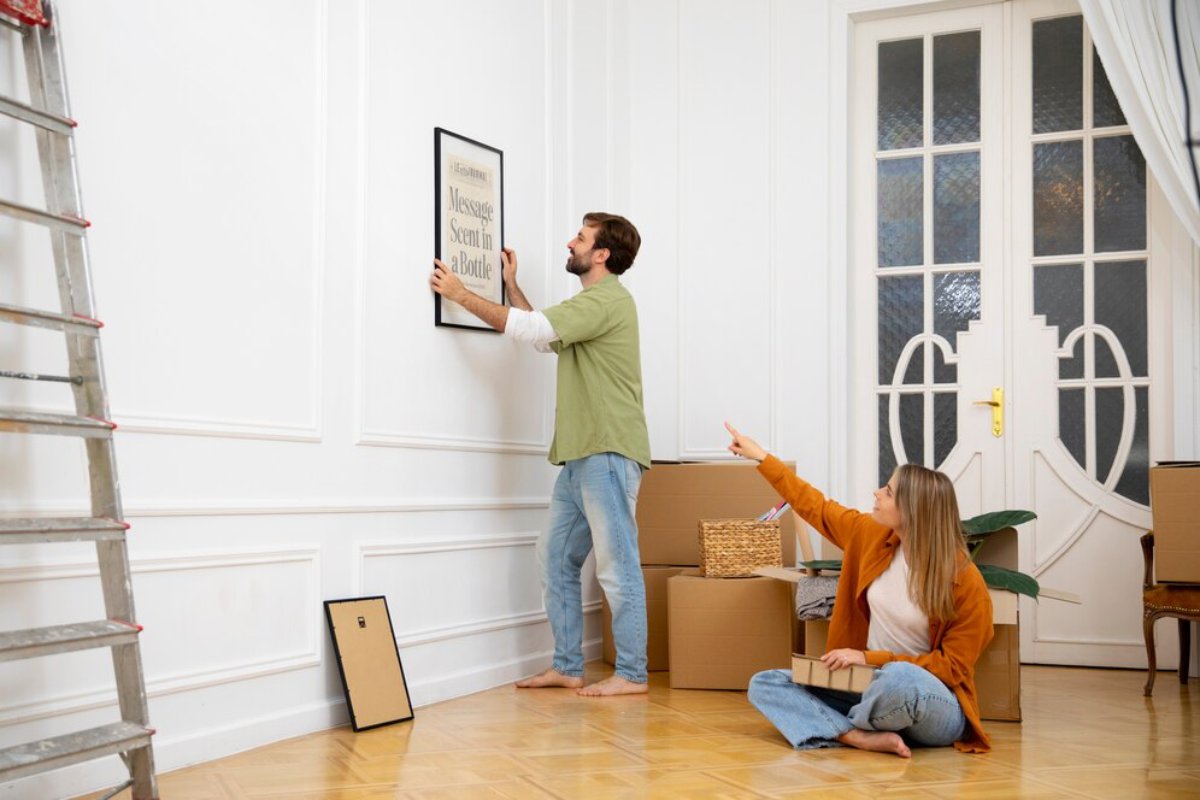
Height and Spacing
- Hang at eye level—about 145 cm from the floor to the centre of the art.
- Leave 5–10 cm between frames for a clean gallery effect.
Upcycling Techniques to Enhance Your Frames
Painting and Finishing
- Use chalk paint for a shabby-chic look.
- For a glamorous touch, spray paint in metallics (gold, copper, silver).
- Lightly sand edges after painting for a distressed effect.
Decoupage
- Use decorative paper, napkins, or magazine cuttings for personality.
- Use Mod Podge or PVA glue as an adhesive and sealant.
- Great for eclectic or boho-inspired interiors.
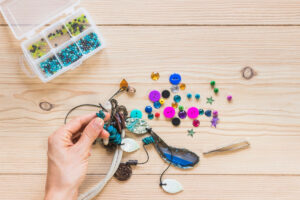
Adding Embellishments
- Glue on beads, shells, or mosaic tiles for texture.
- Use stencils to add patterns or quotes to the frame edges.
- Add hooks or knobs to turn your frame into a mini organiser.
Real-Life Inspiration: DIY Home Decor Success Stories
Sarah’s Staircase Gallery
Sarah, a teacher from Manchester, found mismatched frames at a local car boot sale. She created a stunning gallery on her staircase wall with chalk paint and printed quotes.
Her tip: “Don’t worry about perfection—each frame has its charm. Together, they tell a story.”
Tom’s Entryway Mirror Frame
Tom, an interior design blogger in Brighton, transformed an old frame into a chic mirror using a cut-to-size mirror sheet and gold spray paint.
Result: A light-enhancing focal point that gives his small entryway a luxurious touch.
Emma’s Kitchen Chalkboard
Emma upcycled an ornate frame into a chalkboard menu for her farmhouse-style kitchen. She added hooks at the bottom for aprons and tea towels.
Why it works: Functional, beautiful, and unique.
Common Mistakes to Avoid When Upcycling Picture Frames
While upcycling frames is fun, there are pitfalls to watch out for. Here’s what to avoid to ensure your decorative wall art looks polished and lasts.
1. Skipping the Prep Work
Why it matters: Not cleaning, sanding, or priming your frame can lead to uneven paint or peeling finishes. Fix it: Always clean thoroughly and lightly sand glossy surfaces. Consider using a primer before painting if the frame is very dark or stained.
2. Using the Wrong Paint
Why it matters: Different materials (wood, plastic, metal) need different paint types. The wrong one can chip or crack easily. Fix it:
- Wood: Use chalk, acrylic, or latex paint.
- Plastic: Use spray paints designed for plastics.
- Metal: Consider metal primer and rust-resistant paint if necessary.
3. Overloading with Decor
Why it matters: Adding too many embellishments can overwhelm the frame and clash with your decor. Fix it: Stick to a cohesive colour palette and limit embellishments to thoughtful touches. Simple designs often make the most significant impact.
4. Poor Layout Planning
Why it matters: Hanging frames without a layout plan can make even beautiful art look chaotic. Fix it: Lay frames on the floor to plan the arrangement or use paper cut-outs to test placement on the wall before drilling holes.
5. Forgetting Functionality
Why it matters: If your upcycled piece has a practical element (like a chalkboard or organiser), it must be functional, not just pretty. Fix it: Ensure the chalkboard is smooth enough to write on, cork boards can hold pins, and hanging hardware is secure.
Give Old Frames a New Life
Introducing upcycled frames in your decor is an excellent mix of sustainability and creativity. Transforming your photo frames into decorative wall art can be tricky. You can choose simple gallery walls or go for larger botanical displays. However, your options are limited.
It’s not just about styling your home — it’s about telling your story with one-of-a-kind, handmade pieces. In an era of mass-produced decor, those flourishes of individuality mean more than ever.
So the next time you’re about to throw out that old frame — stop. See the potential. Pick up a paintbrush or a scrap of fabric. Start small, and soon, you’ll create DIY home decor that’s both beautiful and meaningful.
Ready to get started? Show us your upcycled creations! Tag your transformations with #FrameReimagined. Every old frame deserves a second chance.


YOU MAY LIKE